Your Cabinet Painting Professionals
Cabinet Painting Richmond Hill
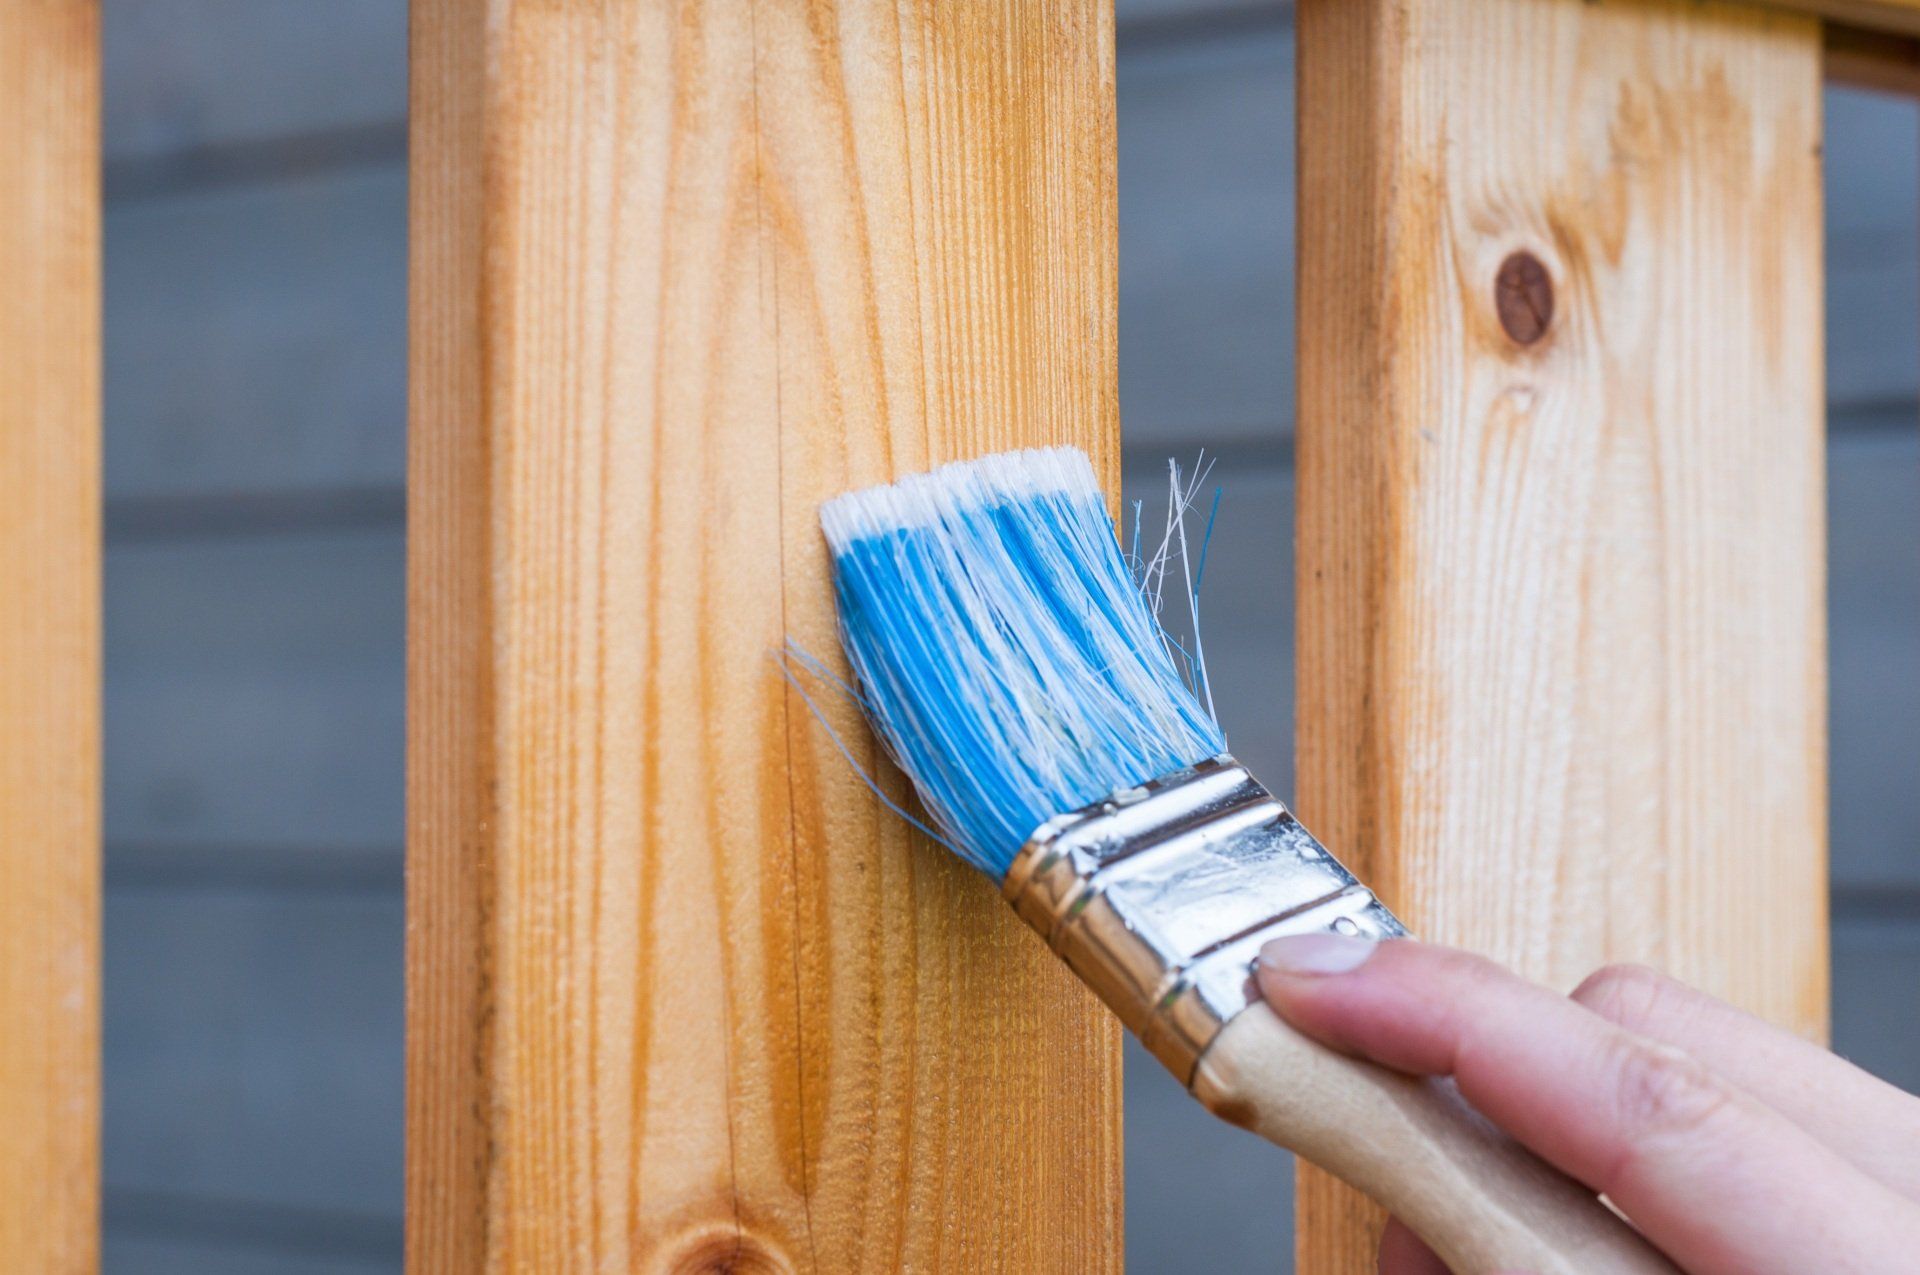
Looking for someone to help you refinish your cabinets? Then you’ve come to the right place! We specialize in cabinet makeovers that leave your home with a fresh and vibrant look. Our flawless finish sets us apart! You can be rest assured that our process will be quick and hassle-free from start to finish. We get the job done on time, professionally, and to the highest standards.
REQUEST A FREE QUOTE
"WHY PURCHASE NEW, WHEN YOU CAN REFINISH?"
Your old cabinets are likely functional, in good shape and fit your current layout, then why replace them or buy new one's? A fresh makeover or facelift will make them look like new again!
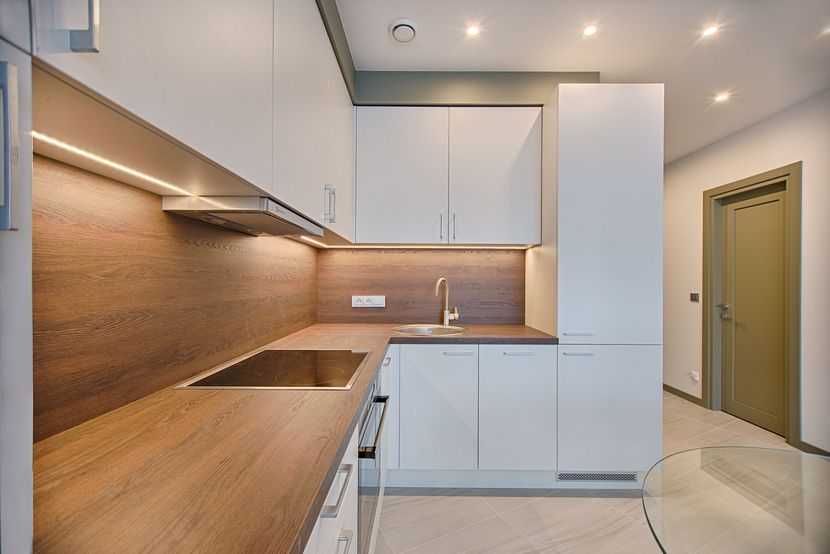
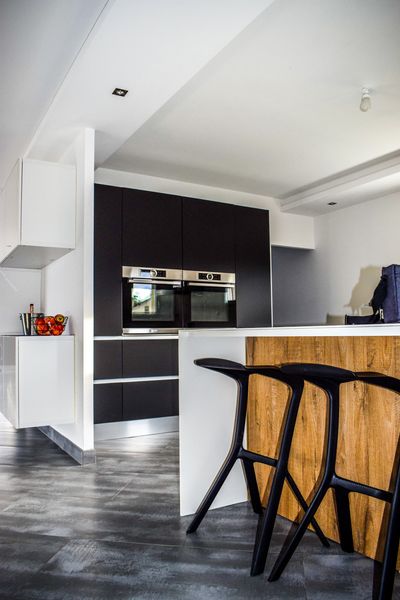
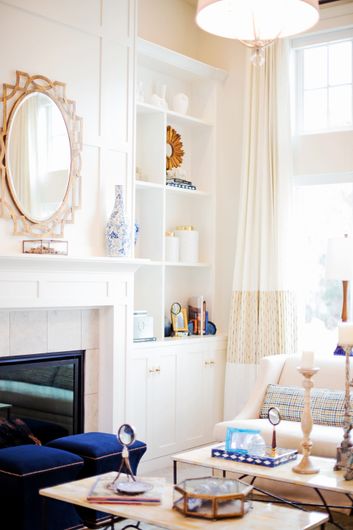
We provide a comprehensive list of refinishing and repainting of any type of cabinet or cupboard surface, whether you want to remodel your kitchen, living room, bathroom, office or hallway, our expertise and attention to detail will transform any room and increase your property value for a fraction of the cost in comparison to purchasing new or replacing your cabinets.
DO YOU HAVE ANY FINISHING TOUCHES OR A STYLE IN MIND?
Do you prefer, traditional or modern, classic or contemporary? We will gladly offer you different options to assist you in reaching the function and design aesthetic you are looking for in your project.
Did you know, something as simple as replacing door knobs or pulls can help go a long way in changing the look of your cabinets?
We're here to help you save time, effort and un-necessary costs on a full-scale renovation.
WHY HIRE A PROFESSIONAL AND NOT DO IT YOURSELF?
The “devil is in the details”. If you are looking for the most durable, long lasting and smooth looking finish, we always recommended hiring a professional. This process, like many others, involves the right tools, experience and skills to accomplish that professional factory like finish. A DIY will be an extremely lengthy and labor intensive process, from prep work to sanding, priming and painting all with unexpected results. We have industrial level tools and experience to to provide you with a cost-effective solution to refinish your cabinets with less odor, no mess and flawless results, ALL in one day!
COMMON QUESTIONS
What is the best type of paint ?
Depending on the type of material of your cupboards or cabinet surface (melamine foil, laminate, wood, etc), polyurethane paint is commonly used since it provides highly resistant and durable coating protecting the surface against scratches and spills. Usually, cupboards in higher traffic areas, such as a kitchen, will have paint peel off over time. Our pro’s will not cut any corners and do everything deemed necessary to provide top quality painting and durable finishes. The good news is that it will dry fast, evenly with long lasting results. In other instances, water-based options are available or professional-grade lacquer to give cabinets a nice polished smooth finish. In any case, we will gladly provide you with our professional recommendations on the which type of paint to use and take care of the sanding, grease or debris removal, gap or hole patch ups and priming to remove any previous colour.
Do you recommend priming?
To ensure the best surface for the paint to adhere to, priming is always recommended. It helps with changing tone of colour, if you were to go from a darker to a lighter colour as an example, it conceals imperfections or odor before painting. Overall, there are many benefits for it’s use.
Is there any prep work before ?
There’s quite a bit of prepping to do before any surface is coated but not to worry, we will handle all of it. Some to consider are applying fillers into holes , taping glass windows on cabinet doors, caulking and sanding.
Is it absolutely necessary to sand ?
It depends, not always but the rule of thumb is to do it anyways. There are excellent primers out there which sometimes allow skipping this step. If the material is made out of wood, you always want to have sanding done to ensure a smooth and consistent finish.
Should I clear the area before starting ?
Better to be safe than sorry, depending on the work area and your cabinet’s condition, there is often some preliminary work which requires you to tuck away, particularly valuables, from the inside of cabinets, clearing of countertops and rolling of rugs, until the job has been completed. However, in some instances where doors are removed to be painted separately, you may wish to leave items inside, if it is inconvenient for you to remove them.
Will you keep the area clean?
We will do our best to do so. We do not want to be a burden on your living conditions and can appreciate that there might be kids or pets running around. In the event there are drops of paint, our team will take extra care before starting to ensure that there are sturdy sheets to cover and protect any exposed surrounding areas or furniture. Should there be any leftover debris, rest assured our team will leave your space in a tidy state.
Do I have to change door handles ?
Not at all, we can paint them all, if you do not wish to remove them. Our pro’s can also colour any removable cabinet component in addition to the cabinet itself. Otherwise, all removable parts will be detached and then put pack once the cabinets have been painted.
How long will the paint last?
It depends on various factors including the details and proper amount of prep work dedicated to before actually painting, in addition to the number of coatings, paint quality and overall workmanship. If all is done according to our standards, you properly maintain your cabinets (wipe off stains, oils, etc.) and usage is under normal conditions, your freshly painted cabinet coating will easily last approximately 8 - 10 years. After which you may consider repainting.
DO IT YOURSELF (DIY)
STEP 1: Cover floor and furniture with drop cloths
Remove any small furniture or rugs that may be in the way from the room. Cover any exposed area on the floor and any large furniture with drop cloths. Consider taping drop cloths to frames over certain walkthrough areas between rooms, such as, walkthrough between kitchen and living room. This will ensure that any dust particles don’t fly though into other nearby rooms. Begin laying long strips of painter’s tape in other surface areas that need to be protected. This will also make your edges cleaner and give that professional polished look.
STEP 2: Disassemble OR paint assembled
If possible, try to paint your furniture disassembled, it will make your life easier. It can be a faster process which allows for full coverage and better accuracy. However, there are advantages and disadvantages to this option too. In one sense, you will need plenty of space to lay out every piece while it dries. You also don’t want to waste time painting pieces that you will never see inside of a drawer or dresser. In another sense, it might not be practical for you to disassemble, especially if you’re painting kitchen cabinets that have already been fully assembled! Taking cabinets apart may lead you to lose or have something break during re-assembly. In this case, move on to the second-best option and start by removing drawers, doors, shelves, and hardware, such as, knobs and hinges or any other removable components. You may want to take note or label the removed pieces so that it goes back to its original place afterwards.
STEP 3: Clean off dust, dirt, and grime
Use a tack or microfiber cloth with some warm water and small amount of soap or dishwashing detergent to wipe off surfaces. In some cases, such as a kitchen, there can be dirt mixed with oil making it hard to remove. Find any type of degreaser with trisodium phosphate to remove these tougher spots. They usually come in powder form that you mix with warm water. Be careful not to drench the material and do not use on pressed wood. Finally, use a dry cloth to remove any left-over residue from soap or degreaser.
STEP 4: De-gloss surface
Once everything has dried, consider filling in corners and cracks between pieces. Then start using a sanding block or an electric sander (save time) to scuff the surface. A 150 grit sandpaper should work well but be careful not to over do it to the point where it goes through the surface onto the particle or fiberboard underneath. A lower sandpaper number means a rougher grit, so a 60-80 grit will really rough it up. The objective here is to just scuff it enough so that the primer can adhere to the surface properly and that you have an even finish. After that’s done, use a damp cloth to remove all sanding dust from furniture and surrounding areas so that you can move on to the next step.
STEP 5: Apply primer
Our recommendation is to use an oil-based primer with a quality brush and roller. The smell is not awfully bad and adherers much better than water based primers, especially useful if your cabinets have a darker colour. It provides extra coverage and might save you an extra coat of paint afterwards. Be sure to check for drips and smooth it out before it dries. You can use a higher grit sanding paper (200-400) to even out any areas or blemishes. Once again wipe off dust from surface. Look out for any gaps that you may want to fill in with caulking.
STEP 6: Second coat of primer
Repeat same step above with second coat of primer. Make sure you allow the primer to fully cure. Usually, 2-3 hours or a few days. Read the label on the can to confirm the amount of time required for drying.
STEP 7: Apply first coat of paint
It’s time for your first thin layer coat of paint. We recommend a good latex paint for its durability and smooth finish. Allow 4-5 hours, a day or two for drying. Check can for specific drying times. Don’t forget to clean your brushes!
STEP 8: Apply a second coat of paint
Depending on how your first coat of paint went, a light sand can smooth out any imperfections. Wipe down, yet again and move on to your second and final coat. Let the paint cure properly, especially in high traffic areas. Once it has dried and cured completely, you’re now ready to put back the hardware or reassemble your cabinets.
STEP 9: OPTIONAL – Apply Sealer
In high usage areas, you may want to choose a non-yellowing polyurethane sealer. A water based one will do the trick and is easy to clean-up. Just follow the directions on the can regarding application.
A few important notes, if you do not do the proper prep work fist, follow the necessary steps in between and paint your cabinets the proper way, you will quickly see roller or brush marks, drips chips and paint peeling away. More importantly, sanding can generate dust that contain lead. You want to take extra precaution to block off certain areas and minimize exposure. There are adverse health effects with exposure to lead.
All the services you need, in one place
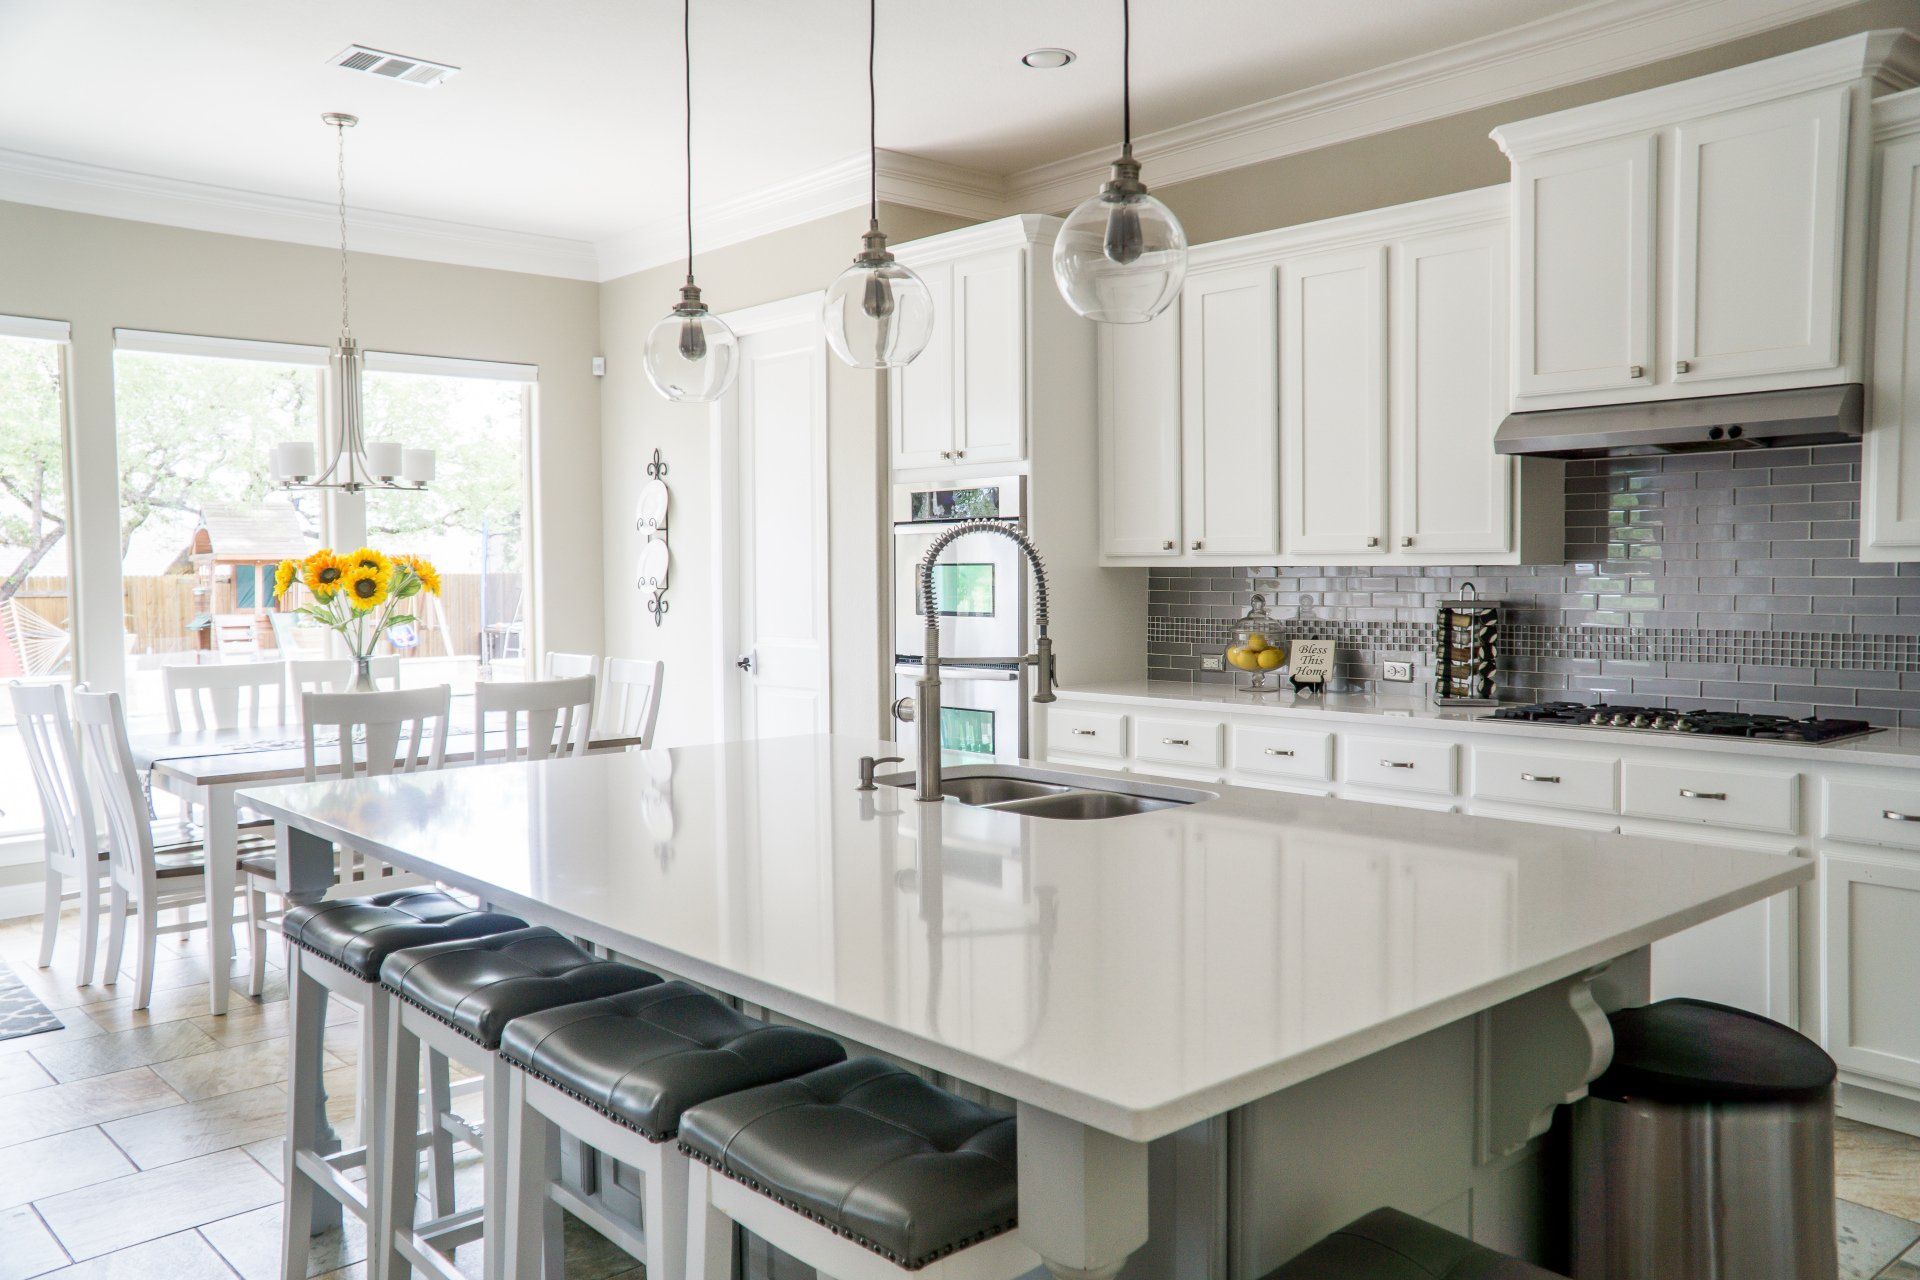
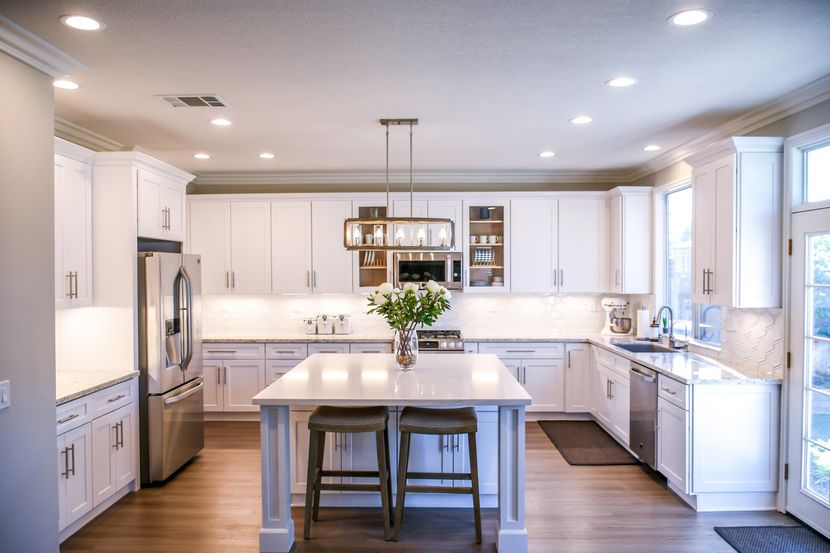
Kitchen Cabinet Painting
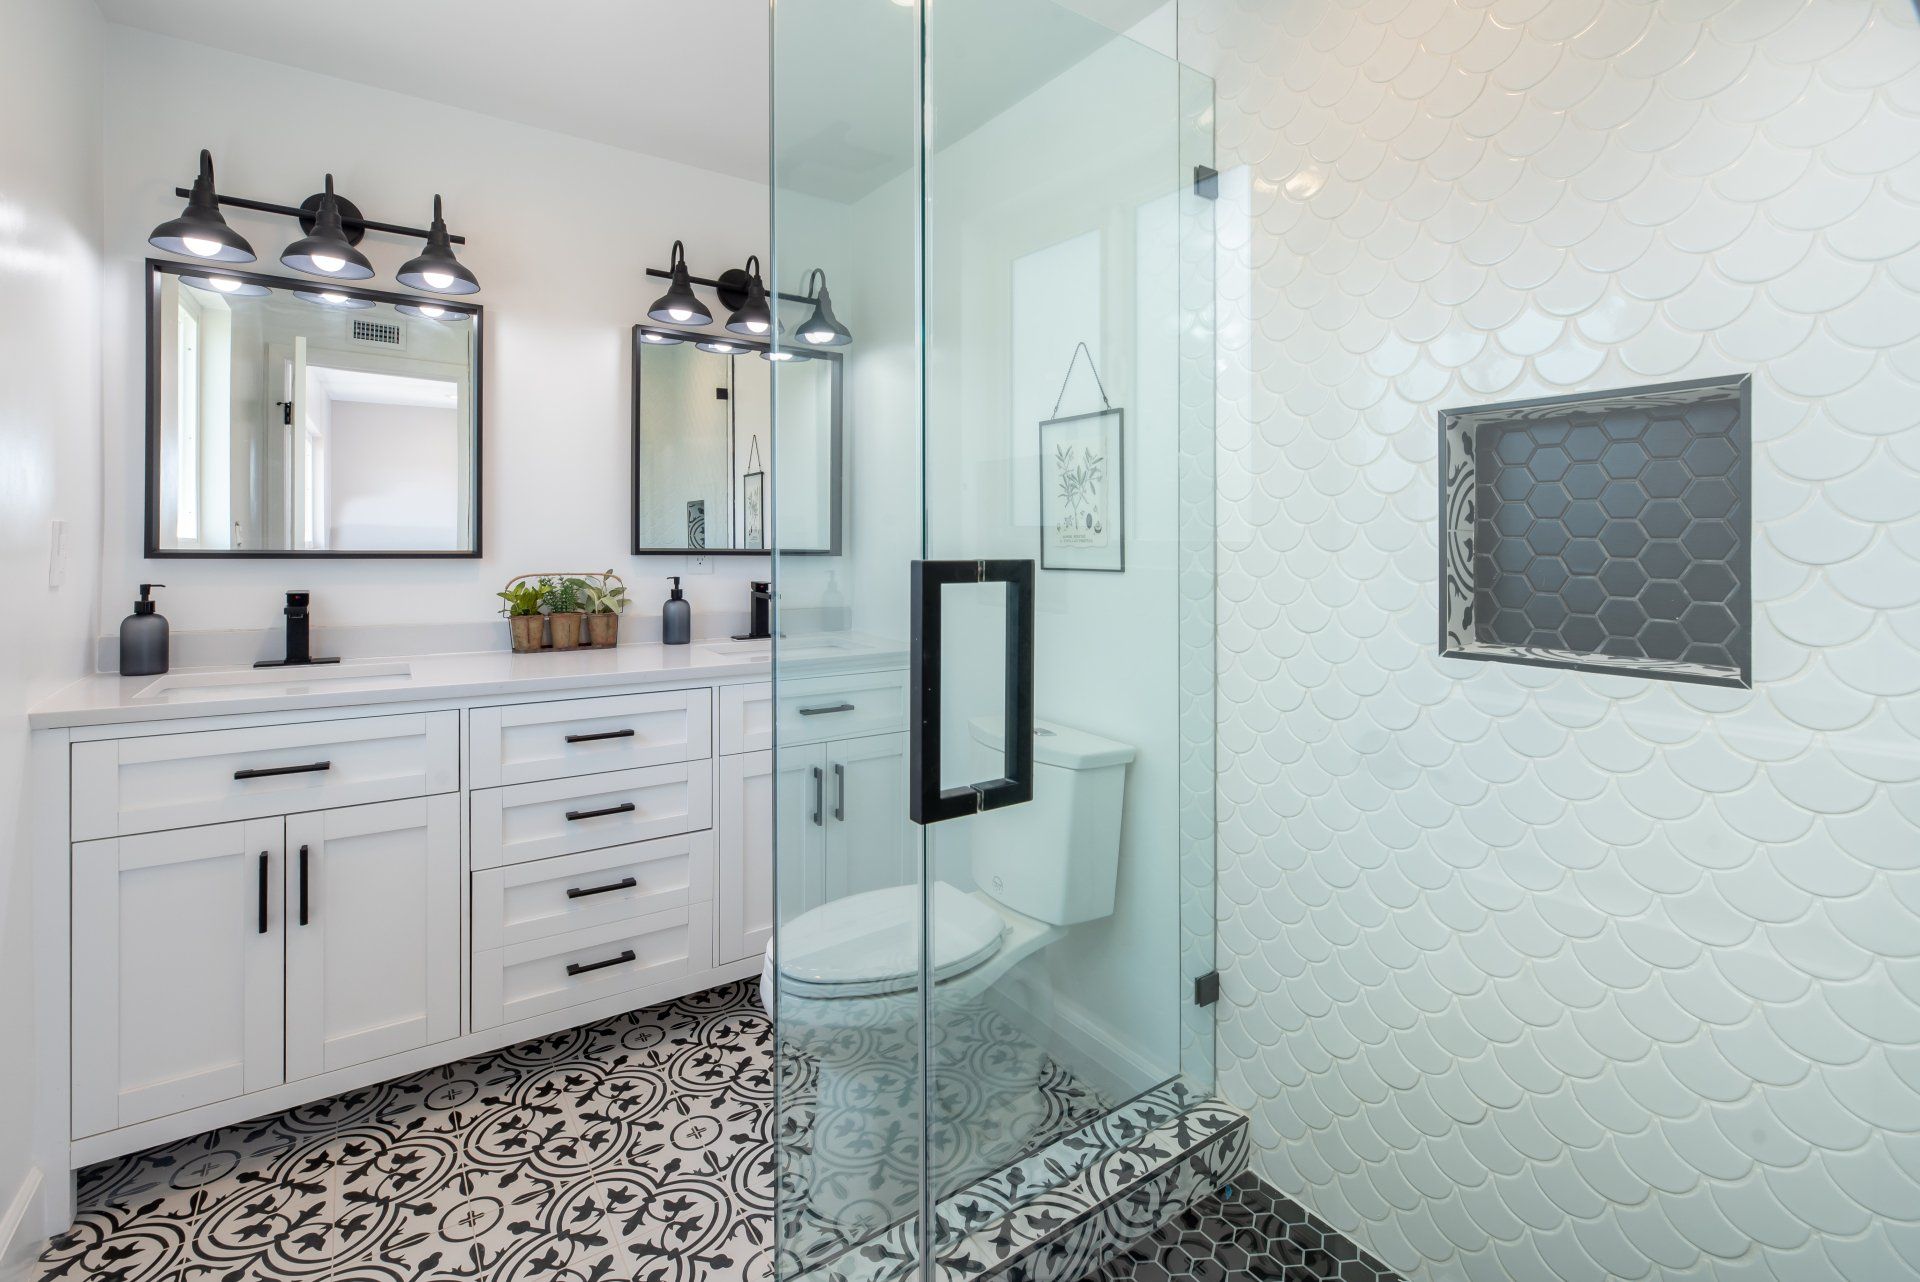
Bathroom & Laundry Cabinet Painting
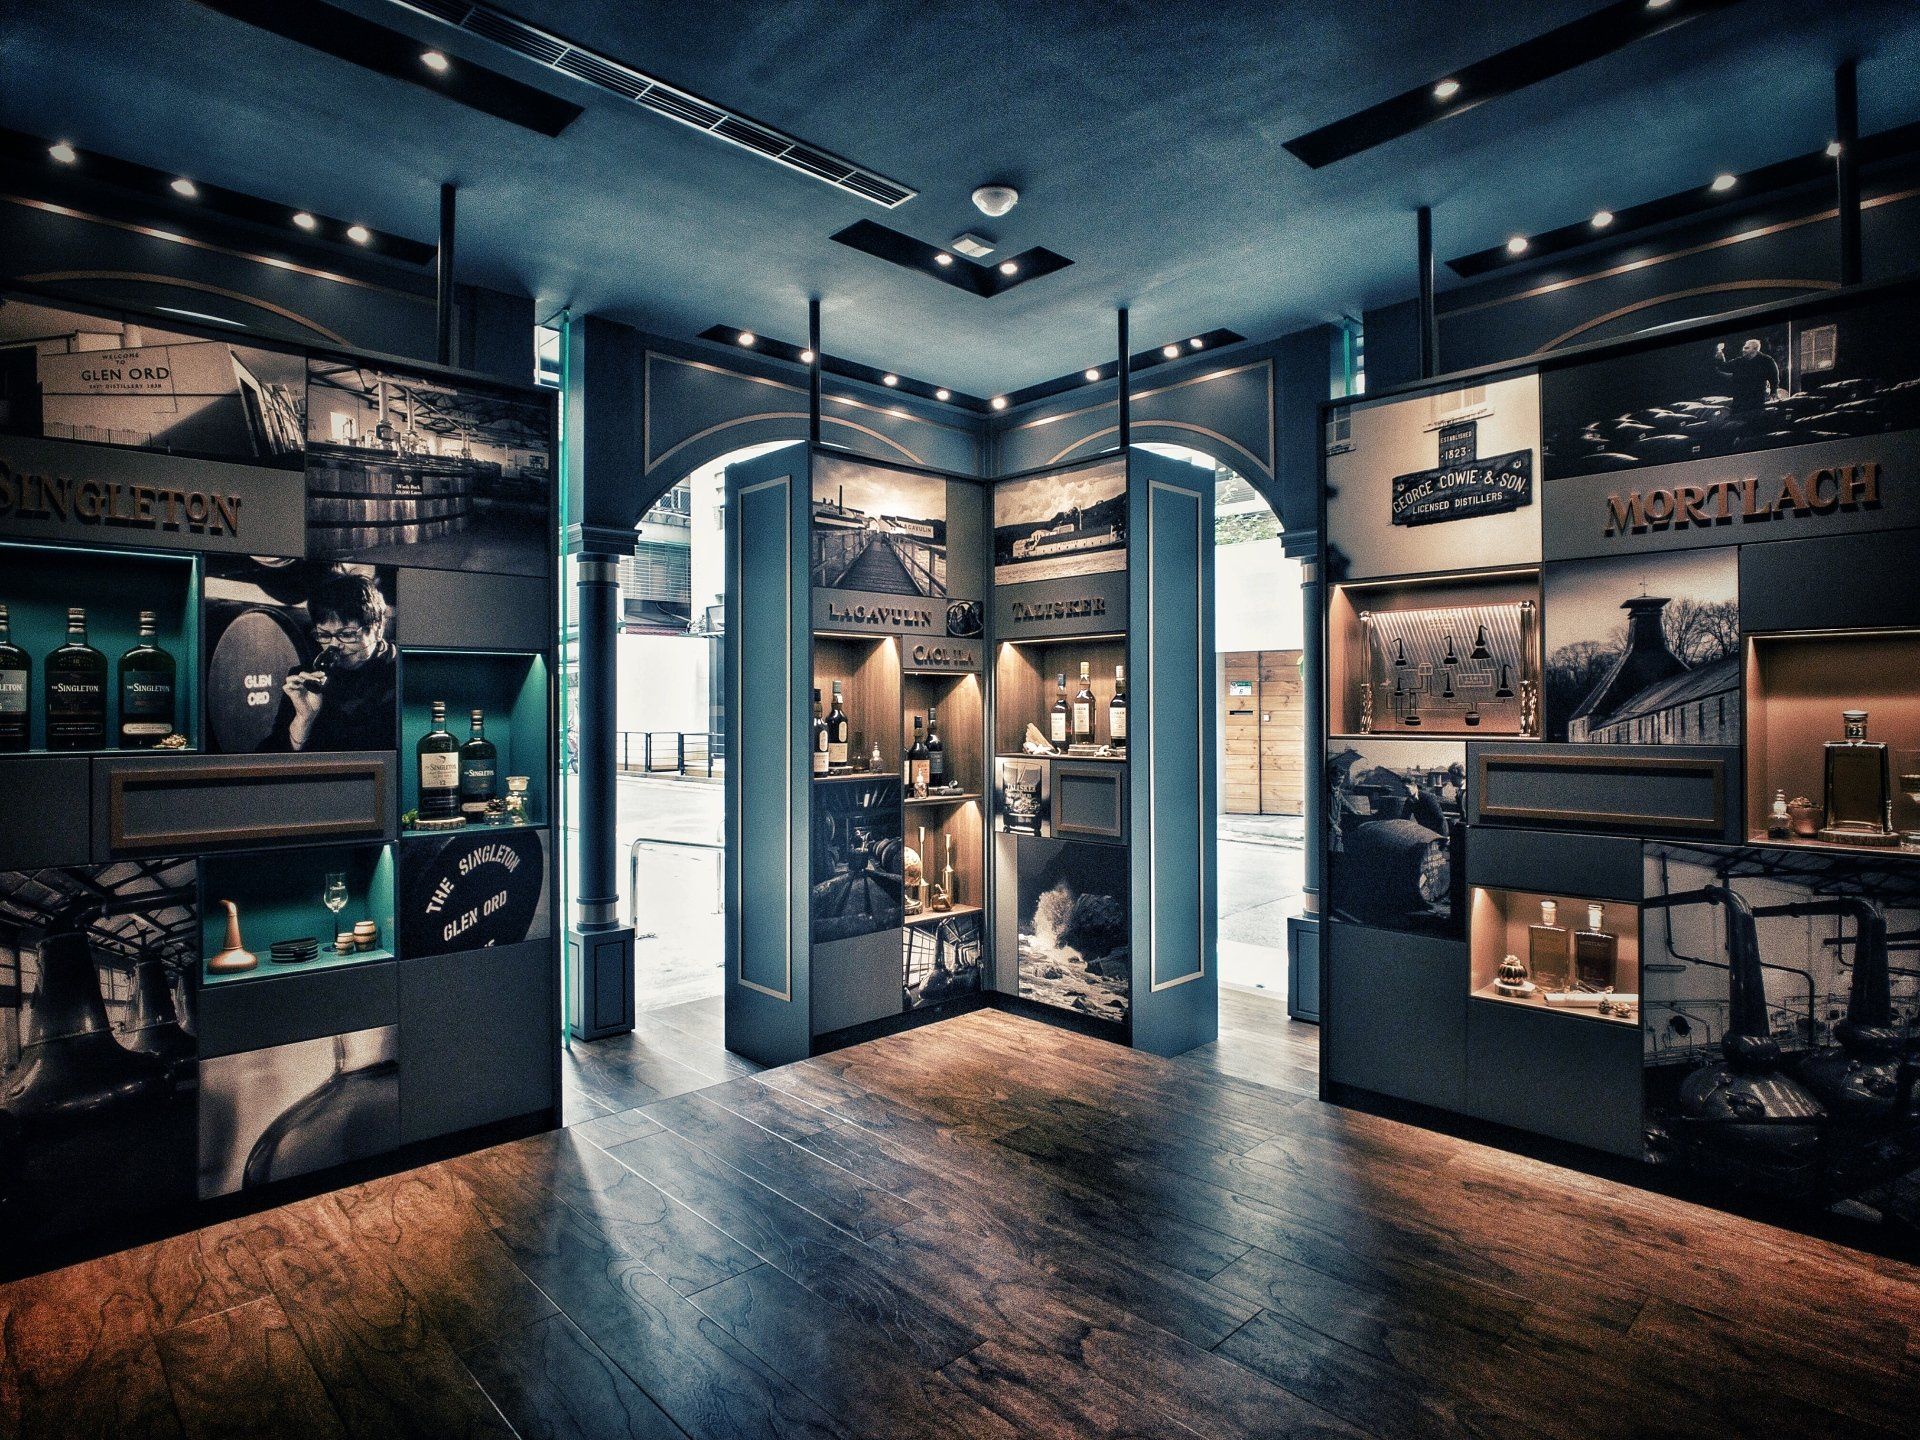
Custom Cabinet & Shelving Painting